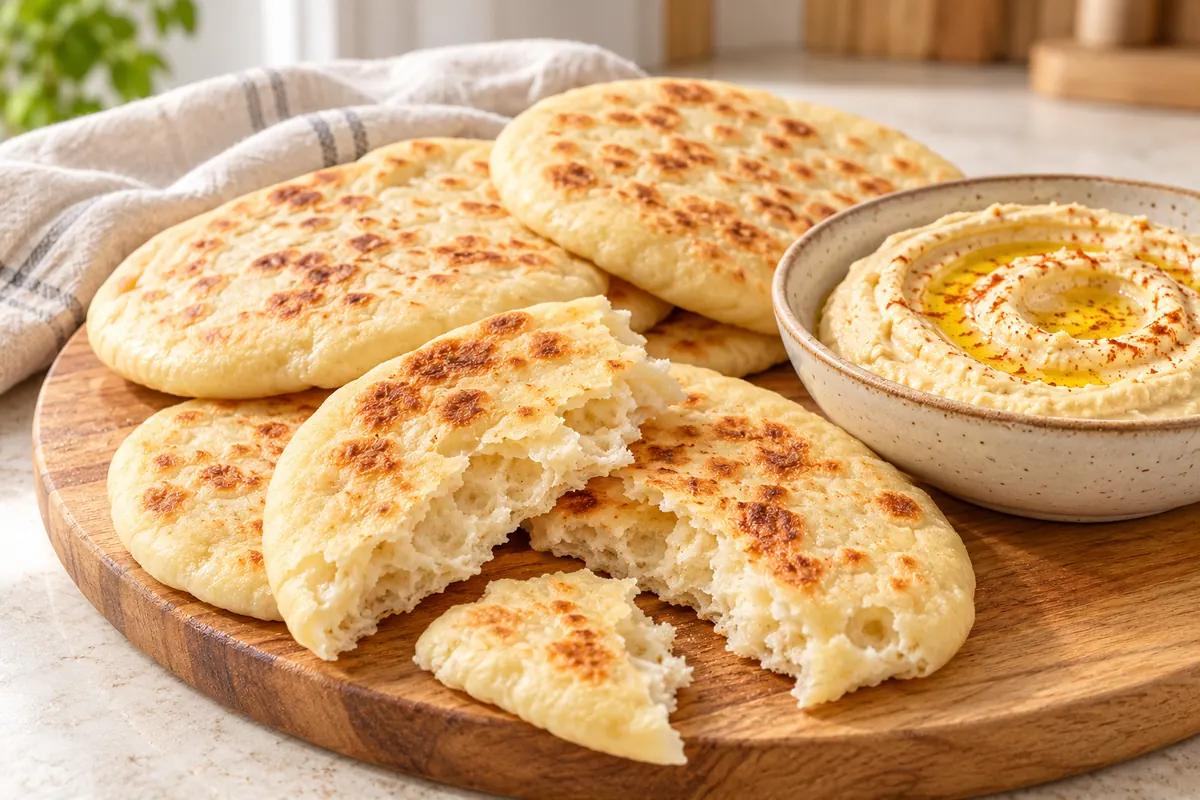
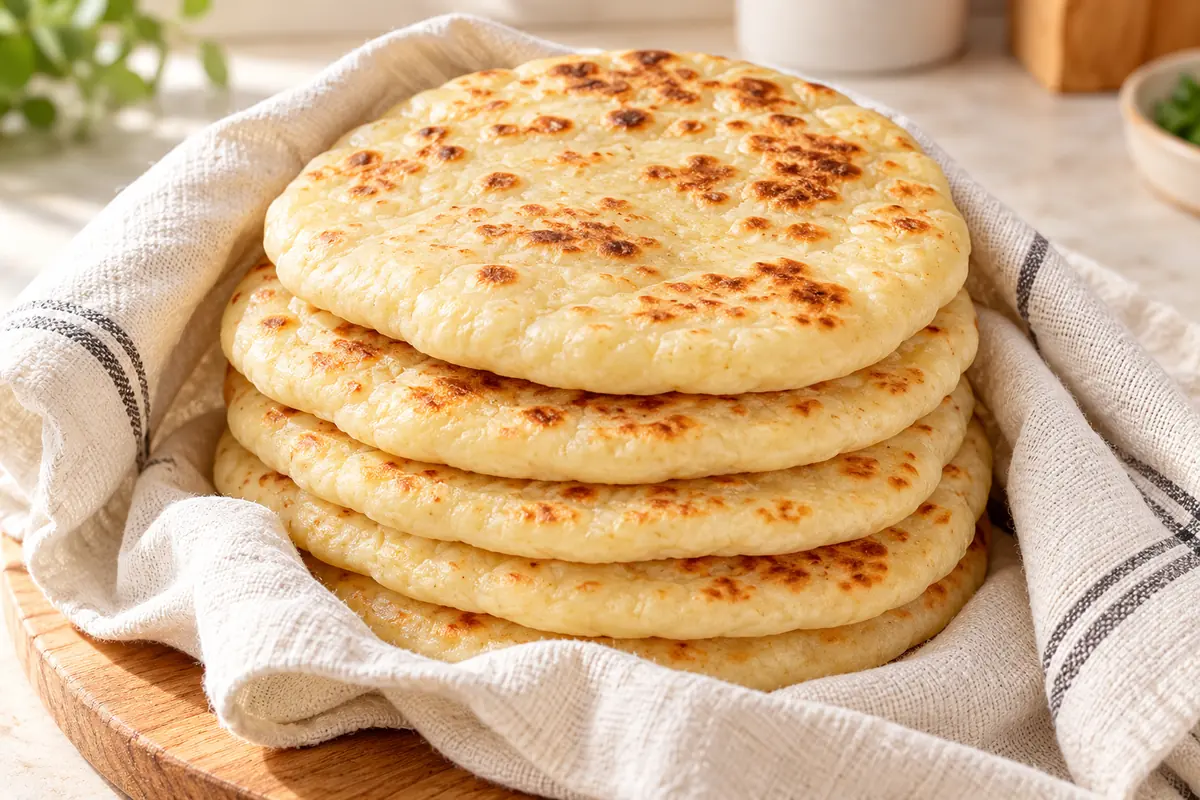
There are some recipes that become such a staple in your weekly meal rotation because they require so little effort on your part. This soft skillet flatbread is one of those recipes. It requires few ingredients that you likely already have in your kitchen, doesn’t require yeast, doesn’t require time to let it rise and it’s cooked in a heavy pan on the stove. What you’re left with is warm, pillowy, golden blistered spots on a tender bread that’s soft enough to fold around filling and sturdy enough to hold up to a thick stew.Since 2024 I’ve made this recipe several times. It’s always a winner when I’m busy and don’t want to mess with the oven. This is a very easy dough to work with, it’s quick to cook and the aroma of it alone is enough to bring people into the kitchen.
Why this skillet flatbread is a winner
The obvious reason is that it’s quick. But that’s not the only reason. No yeast, so no wondering if it’s woken up. It uses yogurt and baking powder for a soft dough. This results in a slightly tangy, tender crumb as opposed to a chewy one. It’s extremely versatile. This same dough can be used as a dipping bread, a wrap, a pizza base or as a simple side dish to soup. And because each piece takes only a few minutes to cook, you can serve them all hot and in succession. This is how flatbreads are best enjoyed. Plus, clean up is easy. One bowl, one board, one pan.
A few things about the ingredients
The base is plain all-purpose flour. You can use bread flour for a chewier bread, if you like that, but I prefer the softness of the plain flour. You can use self-raising flour if that’s all you have, but omit the extra baking powder. My preference is full-fat plain Greek yogurt. It’s thick enough that you don’t need to add much liquid to get the dough together. Plus, the acidity in the yogurt helps wake up the baking powder and make the flatbreads puff up in the pan. You can use low-fat yogurt, but it will be slightly more dry. If you use regular thinner yogurt, the dough will be more sticky. You may need to add some extra flour. Olive oil for flavor and to keep the crumb supple. Use a mild fruity olive oil. No need to splurge on anything fancy. Butter is for finishing. Brush it on the hot bread so it melts in all the nooks and crannies. If you want a dairy-free version, you can use a good quality plant-based yogurt and add a little more oil to replace the butter. Make sure you use fine salt. Coarse salt can leave gritty spots in a quick-cooking dough. Also, use fresh baking powder. If you have an old tin, it’s most likely the reason your flatbreads aren’t puffing up.
How the skillet flatbread comes together
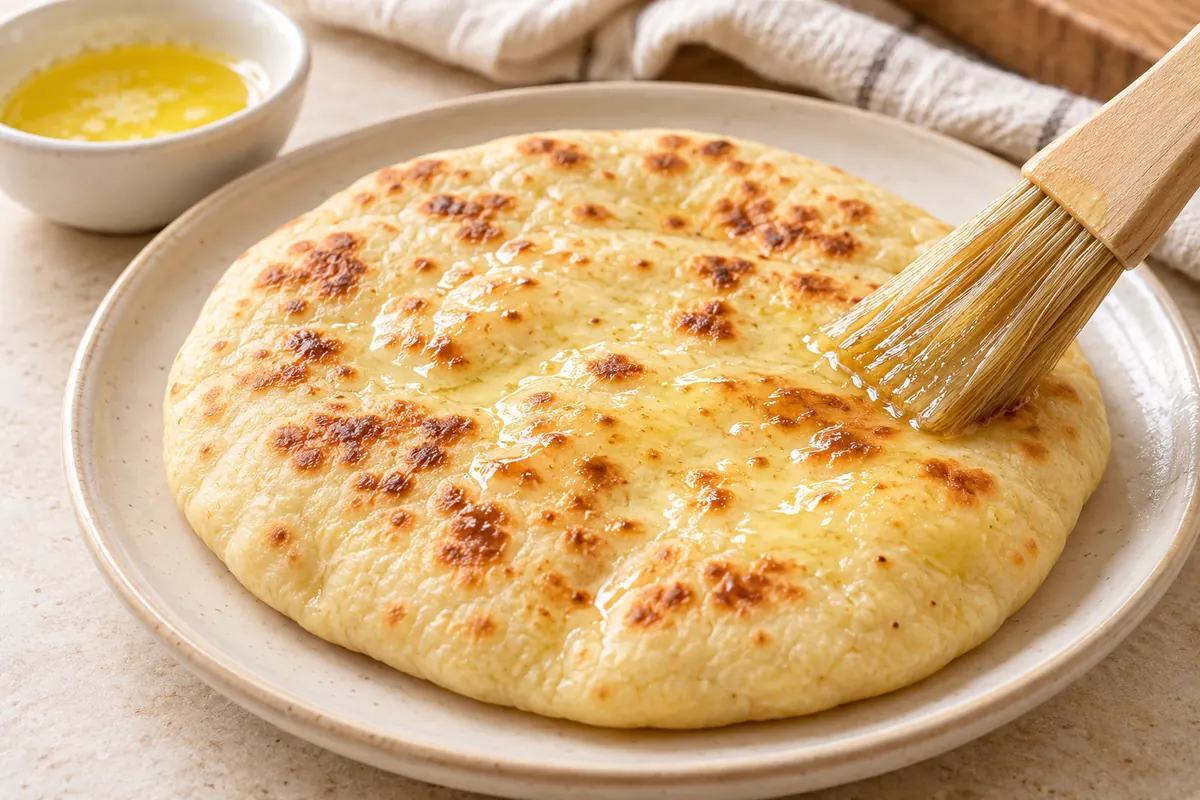
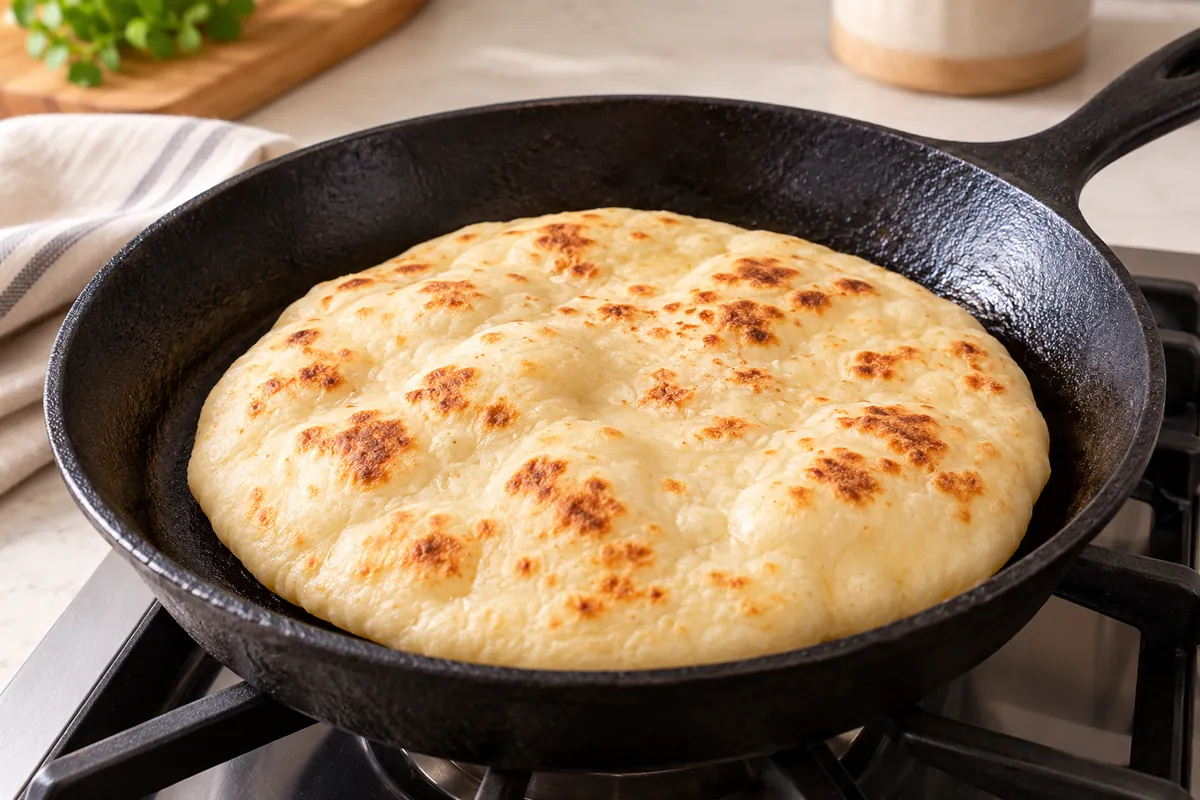
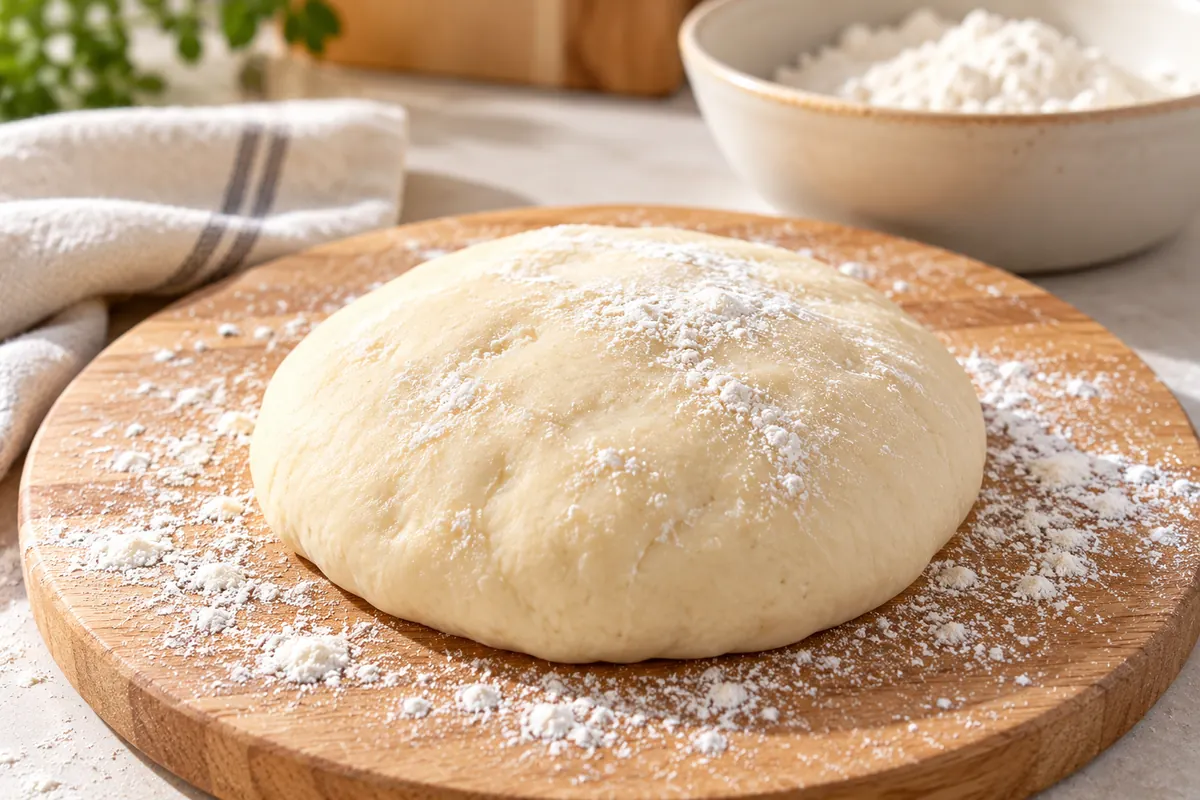
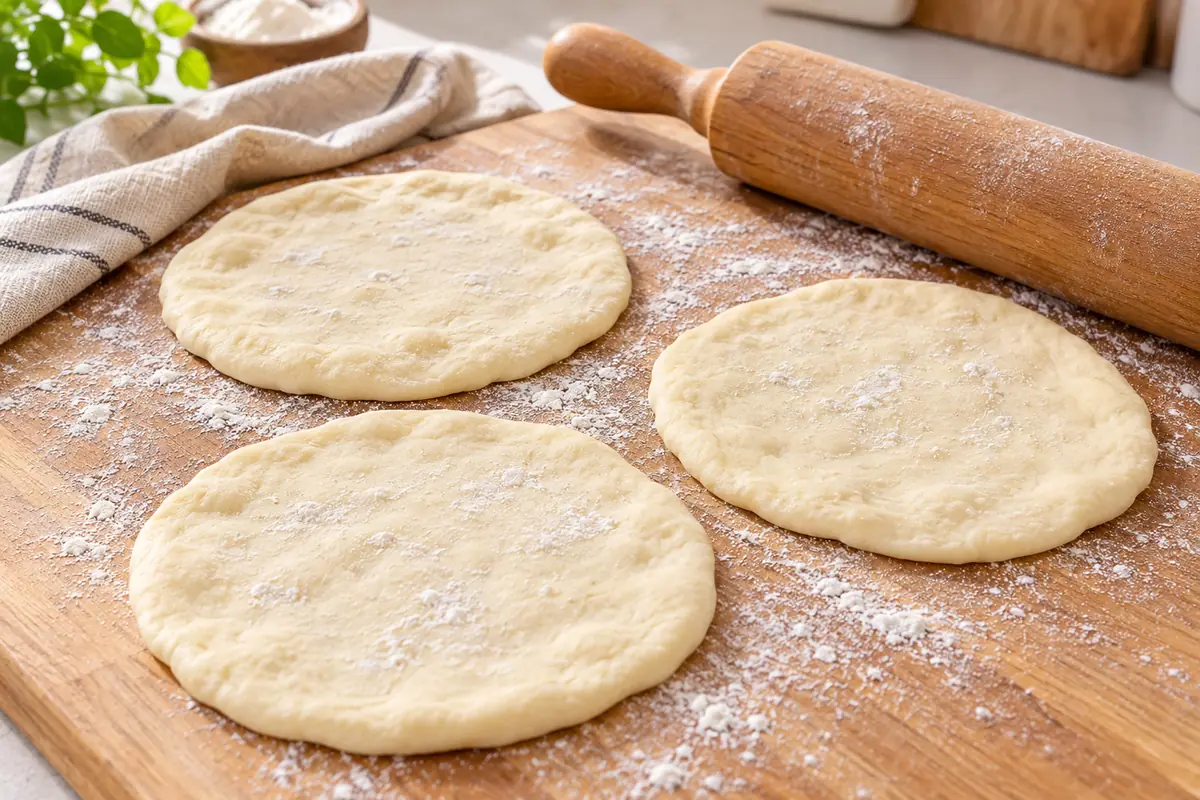
Start by whisking together the dry ingredients. This will ensure the raising agent is evenly distributed in the flour. Then add the yogurt, oil and a little warm water. It will look a bit messy and uncertain at first. Just keep mixing until it starts to clump together. Then dump it out on to a lightly floured surface. Briefly knead. You’re not trying to develop the gluten like you would for a loaf of bread. You just want to smooth it out until it’s soft, slightly tacky and springy to the touch. It should feel like an earlobe. If it’s sticky and won’t let go of your fingers, add a little more flour. If it’s stiff, add a few drops of water. Now you have to wait. Cover the dough and let it rest. The flour absorbs the moisture. The dough relaxes. It will be much easier to roll out later. Divide into equal portions. Roll each piece out into a thin round. Thin enough to see the colour of the board through it, but not too thin that it starts to tear. It doesn’t need to be perfect circles. The rustic shape is part of the charm. Make sure your heavy skillet is hot. A half-hearted hot pan will result in pale, leathery bread. Put a round in the dry pan. Watch. In a few moments bubbles will start to appear on the surface. You’ll also start to see freckles of brown on the underside. Flip it over. The bread will puff up. Sometimes dramatically. There will be a soft hiss. Immediately brush on the melted butter. Stack the finished bread in a clean tea towel. This will allow them to steam gently and stay soft.
How do you know it’s ready?
Trust your eyes first. You want to see leopard-like toasted spots on the first side. It should look dry on the surface, not shiny. After you flip it, you want the flatbread to balloon in places. It should feel light when you lift it. Gently press your finger into the centre. It should spring back. You shouldn’t see a doughy indent. Also, the aroma will change. From a raw floury smell to a warm, slightly nutty smell. If you hear a steady sizzle, then a sharp crackling, the pan is too hot. Lower the heat slightly.
Tips for the best results
Make sure you roll evenly. If you have thick edges and thin middle, it’ll cook at different speeds. You’ll end up with a bread that’s half raw and half crisp. You want the pan dry, except for a whisper of oil. If you add too much fat to the skillet, it’ll fry the surface rather than blister it. You’ll lose that soft bready texture. Keep the dough covered as you work through the portions. If you leave the ball of dough exposed, it will form a skin and be difficult to roll out. Don’t stack the flatbreads while they’re on the heat. Also, don’t skip the tea towel at the end. The trapped steam is what keeps them pliable.
Troubleshooting
Flatbreads not puffing up. It could be because the baking powder is old or the pan isn’t hot enough. Test the baking powder in some hot water. It should immediately fizz. Tough, chewy bread. It was probably over kneaded. Or you rolled it too thick. Short knead. Even roll. Pale surfaces, no spots. You need to let the pan heat up more. Also, don’t crowd the surface. Burnt spots, raw centre. It’s too hot. Lower the heat slightly. Cook each piece a little longer. Sticky, unmanageable dough. It was probably thin yogurt. Add flour a spoonful at a time until the dough just starts to release from your hands.
What to serve it with
This warm flatbread is great with hummus, baba ganoush or a bowl of spiced lentils. I often tear a piece to mop up the sauce from a chicken curry or a pot of chilli. It’s great folded around grilled vegetables with a smear of garlicky yogurt and some fresh herbs. A quick lunch wrap. For something more casual, brush on some oil. Then add some tomato, mozzarella and basil. Put it back in the hot pan briefly with a lid on. Improvised pizza.
Variations
Knead some chopped fresh herbs into the dough. Parsley or chives. For a green flecked flatbread. Garlic is a great partner. Stir crushed garlic into the melted butter and brush it on at the end. Or you can press some sesame, nigella or cumin seeds into the surface before cooking. Nice crunch. You can use some wholemeal flour for a nuttier flavour. But you’ll need to add a little more water to the dough. If you want something sweeter, you can brush the finished bread with butter and dust with cinnamon sugar.
How to store and make ahead
Once completely cool, wrap the flatbreads in a clean cloth or store in a sealed bag. They’ll keep at room temp for up to 2 days. For longer storage, you can keep them in the fridge for up to 5 days. They can feel firm when cold, but a minute in a hot pan will bring back the softness. For the freezer, stack the cooled bread with squares of parchment between them. Store in a freezer bag for up to 2 months. Thaw at room temp or warm up from frozen straight into a skillet. Don’t wrap or bag warm flatbreads. The trapped steam will encourage mould. If you see fuzzy spots or it has a sour smell, throw the whole batch out. It’s a dairy-based dough, so don’t leave it out on a warm counter for long periods. If it’s stored in the fridge, reheat any leftover bread until it’s steaming hot.
- FAQs
Do I need a cast iron skillet?
Cast iron is great at holding heat. But any heavy based frying pan will do. Thin non-stick pans might scorch before the bread is cooked through.
Can I use self-raising flour?
Yes, but omit the baking powder. Keep the salt.
Why do I need to rest the dough?
This allows the flour to absorb moisture. It also lets the dough relax. If you don’t rest it, the dough will spring back when you roll it out. It’ll make the bread tougher.
Is the dough supposed to be sticky?
It should be soft and slightly tacky, but not so wet that it sticks to your hands. Most issues can be fixed with a light dusting of flour.
Can I use low-fat yogurt?
Yes, but the bread will be slightly less tender. If the yogurt is very runny, strain it first. Or add a bit more flour.
Can I use whole wheat flour?
Yes, partly. Just don’t replace all the white flour. Add a spoonful of extra water. Wholemeal absorbs more liquid.
A note from my kitchen
I still enjoy that first puff when the dough rises in the pan. Even after all these batches in 2025. It hasn’t lost its charm. Don’t worry too much about the shape of your first few rounds. The taste won’t be affected. If you make this skillet flatbread, I’d love to know how it goes. Leave a rating and comment below.


Soft Skillet Flatbread Recipe
Description
These soft skillet flatbreads are made from a simple yogurt dough with no yeast and no long rise. Each round cooks quickly in a hot pan, puffing up with golden blisters. Brushed with butter and steamed in a towel, they stay tender for dipping, wrapping and scooping.
For the flatbreads
Instructions
-
Making the flatbreads
- In a large bowl, whisk together 300 g flour, the baking powder and the salt until evenly combined.
- Add the yogurt, 2 tbsp olive oil and 60 ml warm water. Stir until a shaggy dough forms, then turn it onto a floured surface and knead for 3 minutes until smooth, soft and slightly tacky.
- Cover the dough with a clean tea towel or an upturned bowl and rest for 20 minutes.
- Divide the dough into 8 equal pieces of 80 g each. Roll each piece on a lightly floured surface into a round of 18 cm (7 inches) across and 3 mm (1/8 inch) thick.
- Heat a heavy skillet over medium-high heat for 3 minutes until the surface reaches 200°C (390°F). Wipe the pan with 1 tsp olive oil using a paper towel.
- Cook one flatbread at a time for 1 minute on the first side, until bubbles appear and golden spots form. Flip and cook for 1 minute more, until puffed and lightly browned.
- Brush each cooked flatbread with melted butter and stack in a clean tea towel. Let them steam together for 5 minutes before serving warm.
Nutrition Facts
Servings 8
- Amount Per Serving
- Calories 215kcal
- % Daily Value *
- Total Fat 7g11%
- Saturated Fat 2.3g12%
- Cholesterol 8mg3%
- Sodium 390mg17%
- Potassium 80mg3%
- Total Carbohydrate 30g10%
- Dietary Fiber 1g4%
- Sugars 1g
- Protein 7g15%
- Vitamin A 18 mcg
- Calcium 45 mg
- Iron 0.6 mg
- Vitamin D 0.1 mcg
* Percent Daily Values are based on a 2,000 calorie diet. Your daily value may be higher or lower depending on your calorie needs.
Note
- Rest the dough for the full 20 minutes; it makes rolling easier and the bread softer.
- Keep the skillet at medium-high heat, 200°C (390°F), so the flatbreads blister without drying out.
- Store cooled flatbreads wrapped at room temperature for up to 2 days or in the fridge for up to 5 days.
- Freeze with parchment between the layers for up to 2 months, and reheat in a hot skillet.